Soldering Safety
- Wear goggles or safety glasses!
- Solder in a well-ventilated area.
- NEVER inhale solder smoke!
- Turn OFF soldering iron immediately upon finishing or leaving the area. It will still be hot for a while!
- Always wash hands after soldering, especially if using lead solder.
- Tie or pin long hair back securely.
- Keep burn cream handy in an emergency.
- Use long anti-static tweezers to hold projects or tape them down. Do not hold them with your hands!
Soldering Supplies
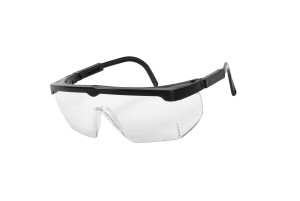
Safety Glasses
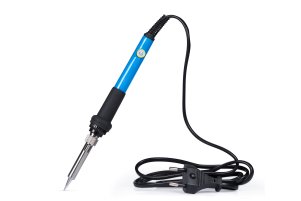
Soldering Iron
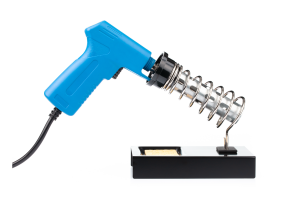
Solder Stand
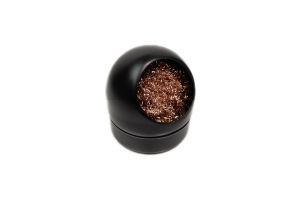
Solder Tip Cleaner
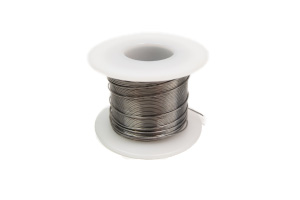
Solder
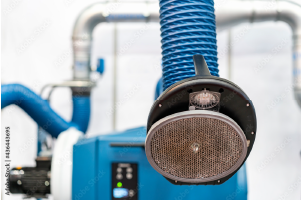
A Fume Extractor
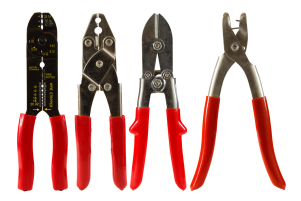
Wire Cutters
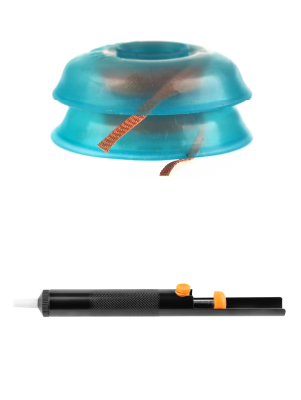
Desoldering Pump
Tining a tip
Always “tin” your tips before and after soldering. To “tin” your tip, just cover it with a thin layer of solder. This is a protective layer that prevents oxidation. It helps the solder wire melt and flow better, increasing the efficiency of the heat transfer.
Ensign Step 1
Before plugging in the soldering iron, check to make sure the tip is secure. Only check and secure the soldering iron tip when the iron is COOL to avoid injury.
If using a sponge to clean the tip, make sure the sponge is damp (barely wet) and not soaking wet. Touching the tip to a wet sponge can cause thermal shock to the tip.
The tip can also be cleaned with a coiled soft metal wire.
Lieutenant Junior Grade Step 2
Place soldering iron into the stand. Plug in the soldering iron and pre-heat the iron. This may take two to three minutes. If there is a temperature control, set the temperature to the desired setting for the solder being used.
Once the iron is hot, run the tip across the damp sponge or the coiled soft metal wire to clean the tip.
Lieutenant Step 3
Pull at least three inches of solder from the tube. Hold the solder, not the tube, between your thumb and fingers for great control. Keep fingers away from the hot tip of the soldering iron.
Tin the tip of the soldering iron by holding the solder to the tip and coating the tip with solder until it is shiny.
Clean the tip on the sponge or coiled metal wire.
Hold solder to the tip again and leave a drop of melted solder on the tip. This will protect the tip from oxidation and help transfer the heat to the junction being soldered.
Lieutenant Commander Step 4
To solder on a printed circuit board (PCB), hold the solder iron at a low angle to the PCB with the drop of solder that’s on the tip touching the solder pad and the terminal of the component being soldered.
Hold the soldering iron for about 2-3 seconds to heat the connection.
Apply heat with the side of the soldering iron tip, not the point of the tip. The larger surface of the side of the soldering iron tip will conduct more heat to the connection.
Commander Step 5
Bring the tip of the solder to the opposite side of the terminal, hold the solder at a slight angle to the PCB, and feed solder until it flows over the connection.
Holding the solder at a slight angle and not perpendicular to the PCB will prevent solder from leaking through the hole in the solder pad and to the component side of the PCB. Remove the solder.
Hold the soldering iron tip on the connection for a second or two longer to ensure the solder had attained its full melting temperature.
Remove the soldering iron from the connection.
Important tips
Soldering Order: Iron On -> Solder On -> Solder Off -> Iron Off
When soldering on a component to a PCB, solder only one connection and inspect to make sure the component being soldered is flat and flush on the PCB. If not, you may have to remove the solder and adjust the component but it’s easier to make a correction if you only soldered one connection.
Good vs. Bad
Soldering Joints
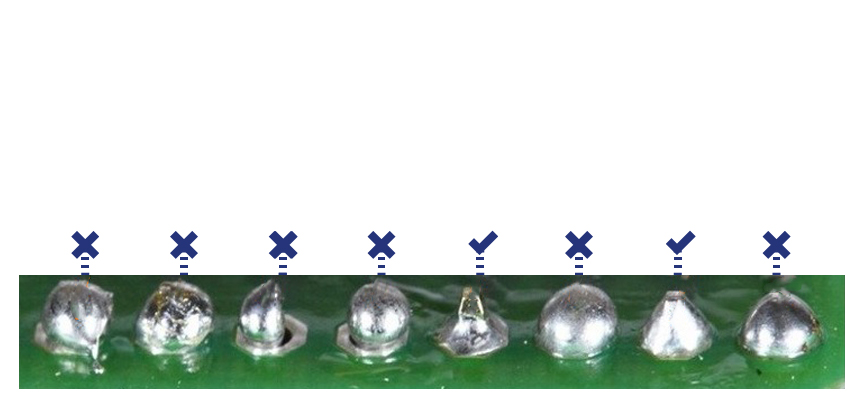
Photo Credit: Photo recreated from https://jestineyong.com/someone-asked-how-to-find-dry-solder-joint/
